Table of Contents
Main Page (ALttP)
- Prologue: Zelda's S.O.S.
- 1. Searching for the Elder
- 2. Pendant of Courage - Eastern Palace
- 3. From Boots to Books to Prayers
- 4. Pendant of Power - Desert Palace
- 5. Scale Death mountain
- 6. Pendant of Wisdom - Tower of Hera
- 7. The Master Sword and the battle against Agahnim
- 8. Crystal #1 - Palace of Darkness
- 9. The Bird, the flute, it's owner and his old man
- 10. Crystal #2 - Watergate Dungeon
- 11. Crystal #3 - Skull Woods
- 12. Crystal #4 - Thieves' Town
- 13. The Tempered Sword and other items
- 14. Crystal #5 - Ice Palace
- 15. Crystal #6 - Misery Mire
- 16. The Final Sword upgrade and loose ends
- 17. Crystal #7 - Turtle Rock
- 18. Tower of Ganon
- Final. The Last Battle
- Appendix A: Check List & Compendium
Sections
| ||||
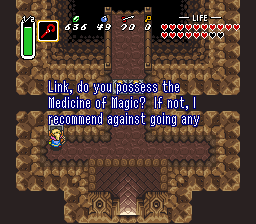
As the Sahasrahla tile reads out above, you should have at least some magic reserves before entering this dungeon or else you can get in trouble!
First Floor (Map & Compass)
1F
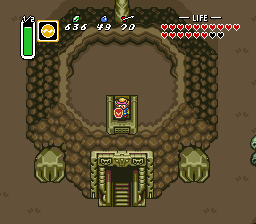
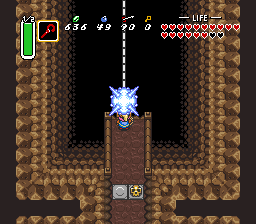
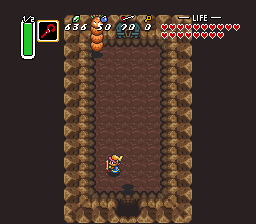
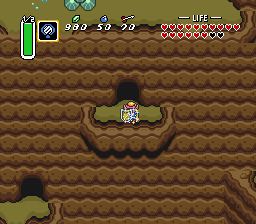
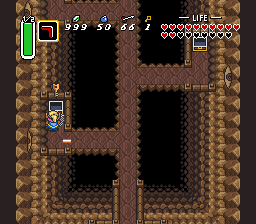
In the previous chapter I explained to get here. So let's get started in the actual dungeon itself. It's pretty big and confusing, but with the maps it should become much easier to navigate. So in any case enter the rock and bring out the Cane of Someria to create platform over the pit. Stand on it and walk up into the next room.There's a big chasm here, but there's nothing to worry about. Use the cane again to create another block and now you can go either left to the Compass or right towards the Map which comes bundled together with a Small Key. Let's do the Map first. Go right with the block and stop at the highest ledge on the eastern wall.
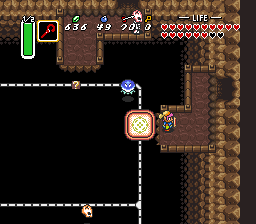
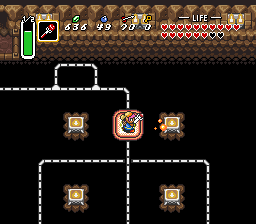
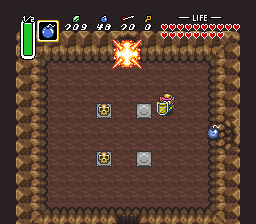
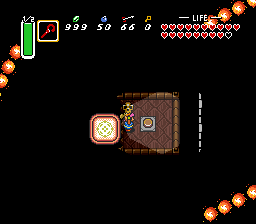
Go right, and make a new platform with the block. Leave the skulls as they are as the Magic Decanter in them may come of use when you fail this puzzle. Now comes a tricky section equip the Fire rod and go down for a ride. After a while you'll return to the beginning, but while doing so you have to activate all four torches. The only way to open the doorway is by lighting them all four up.
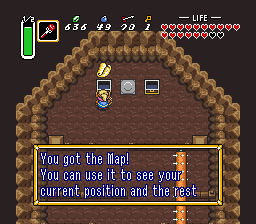
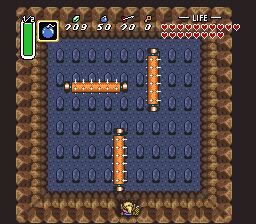
You have several chances so it should work out. Walk up to the next room to find some long roller blades. Avoid them as you navigate to the top. Here there is a Small Key and a Map inside the treasure chests. The skull has a Magic decanter which is probably useful to you.
Return to the central room with the big chasm. Let the Somaria monorail guide you to the bottom left entrance. Go down and collect the Compass at the end... That was a bit too easy. And indeed, when you walk back the door shuts itself up, but only when you face north. So charge the Spin Attack and return walking in reverse!
For some optional stuff enter all the other crevices that do not have a locked door. Most of them contain some magic vials or something similar. The room at the NE has some flying floor tiles. Behind it lies a bonus room with a large Magic Decanter together with a lonely Faerie.
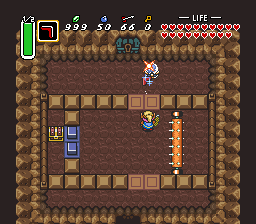
After doing so, or not, head to the locked door and use the Key you found next to the chest to continue on. The room behind it has a single "Hokbok" which is nothing more than stack of fuzzies (reminds me of a Pokey somehow).
Each time you kill a section of the the Hokbok it attacks you just before disintegrating so watch out. There are also two green Zols here so there's even more fun. Walk up to the next room after the Hokbok drops the key and find two invincible Chain Chomps.
Use a projectile to hit the Crystal switch in the back and then press the upper right block to the west (or the opposite to the east) in order to find a chest with a small key in it. Unlock the door without getting hit by the Chain Chomps to descend to B1F. The cane of Byrna might give some protection here as the Chomps cause mayor damage!
Big Key and Treasure
B1F
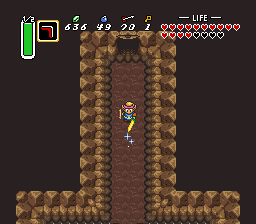
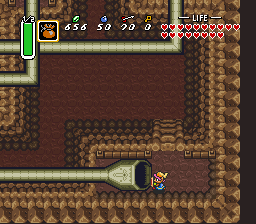
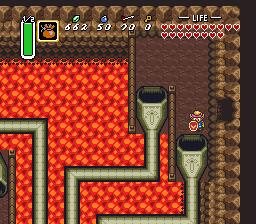
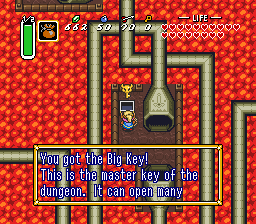
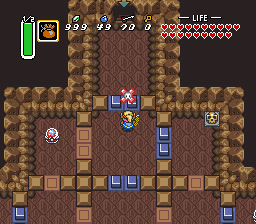
This room allows you to stock on items again as there are several skulls here as well as some Anti-Faeries. Enter the tube in the lower right corner to find the exit to the next chamber.There's a large pit of lava down below, but don't let it intimidate you as it is purely there for show and decoration. Take the lower right tube first as it leads you to the Boss Key. The other tube leads to the Big chest and without the key the chest is of no use.
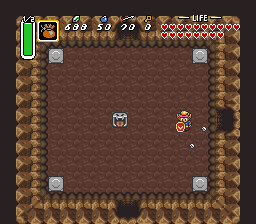
The next room is very populated so get ready. There are 4 Anti-Faeries here so make sure to remove them with the Magic Pouch to give yourself some room to breathe. If you spray it right away, you should be able to convert all four of them to normal Faeries in 1 go! Activate the switch and retreat as a Spark will be homing in on you.
Defeat the Hokbok for a small key and fight of the pesky undead skull which take quite a beating before they die. After passing the switch turn it back to red. Then go through the doorway in reverse, because of the eye laser mounted at the top (just turn around when you are against the door to unlock it). Follow the only direction to reach the Big Key.
Continue along this tube to get back in the first room of B1F. Now you should know the direction to the other pipe we just missed. Take it, and you'll end up in a room with a shooter and two Hokbos. Take them out of commision to unlock all the doors. Mind you that the lower right pot contains a Spark!
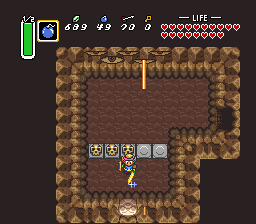
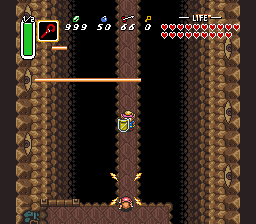
DON'T go east or else you need to redo the previous stuff again, but instead go south, then west to find a room with many eye lasers. Don't look up against them, but face away (either left, right, downwards). Collect the goodies and go down the passage outside, which needs to be bombed in advance.
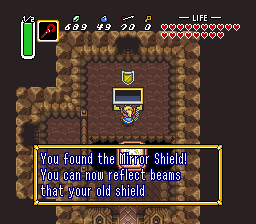
Follow the path to the right and reenter the rock. Use the cane for an instant platform and walk over to the chest with a Mirror Shield in it. With this shield on you can deflect any beam including Eye lasers.
|
Path to the finish
Go north, and again through the big lock door, upwards through the tube towards a new area. Bomb the north and east walls to find new passages. The east is optional and has a large Rupee room at the end.
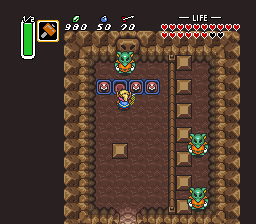
So here goes. Enter the right room and take out the three Zols which appear, then move the higher of the two blocks sideways to reach two tongue statues. Pull the left statue for the Rupee room. The right is a fake and causes 3 bombs plus a delayed one to drop down.
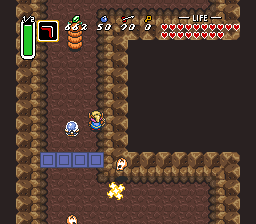
Back in the previous room head up, and watch out for the infinite stream of black mini creatures called "Zoro". In the next room there's a peg switch at the top so hit it with a projectile to make the orange pegs drop if necessary. Walk up just after the spikey roll goes to the right then, hit it again with a projectile to reach the chest on the left with the key.
B2F
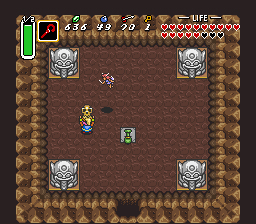
Just five more rooms to go until the boss! This is a dark room so take care (or look at the map above to see where you're going). You need to end up in the center to the lonely platform with a single skull. There is a button switch below it which needs triggering before the door to the south opens up.Follow around the room clockwise and end up at the southwestern end. Walk down to find a long tight corridor with a Helmasaur on it. Slash it into the gap before it pushes you back. Two Beam Attacks suffice to kill it.
Walk down as the left door requires the last small key. To find another long corridor. The chests contain from north to south: Green Rupee, Blue Rupee, Red Rupee, Small Key. Watch out again for the eye lasers and make quick work of the Red Hardhat Beetle.
The southern wall is bombable. It leads to an empty ledge, but if you walk up to the back end you can find two Faeries here which replenish your health.
Back at the locked door unseal it and enter the large peg puzzle maze which is super easy. Just hit the pegs and eventually you'll reach the top exit. There are many interesting items around here and some more Anti-Faeries which make good Faeries using some magic.
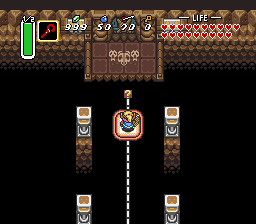
Walk down the stairs, use the Cane to create a platform, then collect the large vial and another recovery heart, and ride up to the boss' hideout. Time to beat the boss. I beat it has something to do with a turtle...
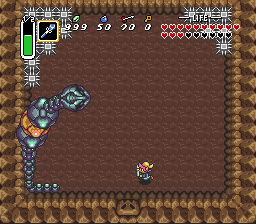
Boss: Trinexx
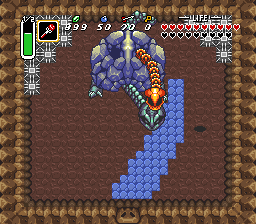
Ah, yes. Tree necks, haha... what a silly pun. Trinexx attacks you with both fire and ice attacks.
Take out your Fire/Ice Rod and hit the neck of the opposite element to paralyze it temporarily. Then hit each one four times with your level 4 Sword to take them out. Trinexx's main attack is by extending his central neck out to damage you before retracting again.
For a level 7 Boss he's not that hard, just make sure you don't run out of magic too early. Anyway after the temporary victory, Trinexx's center head attacks you on its own. The central segment is the only vulnerable part so hit him there. It takes four hits to dispose of the main body as well.
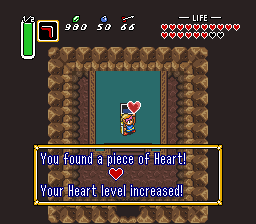
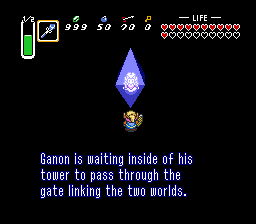
That was it, you receive the 17th Heart Container meaning that you have all 20 Hearts in total now. The last maiden appears; it's princess Zelda!
If you have some potions left, then go west right away straight to Ganon's Tower.


 Subscribe to RSS