Table of Contents
Main Page (ALttP)
- Prologue: Zelda's S.O.S.
- 1. Searching for the Elder
- 2. Pendant of Courage - Eastern Palace
- 3. From Boots to Books to Prayers
- 4. Pendant of Power - Desert Palace
- 5. Scale Death mountain
- 6. Pendant of Wisdom - Tower of Hera
- 7. The Master Sword and the battle against Agahnim
- 8. Crystal #1 - Palace of Darkness
- 9. The Bird, the flute, it's owner and his old man
- 10. Crystal #2 - Watergate Dungeon
- 11. Crystal #3 - Skull Woods
- 12. Crystal #4 - Thieves' Town
- 13. The Tempered Sword and other items
- 14. Crystal #5 - Ice Palace
- 15. Crystal #6 - Misery Mire
- 16. The Final Sword upgrade and loose ends
- 17. Crystal #7 - Turtle Rock
- 18. Tower of Ganon
- Final. The Last Battle
- Appendix A: Check List & Compendium
Sections
Finding the Mire
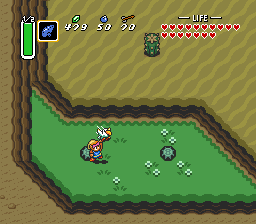
The next Crystal is located in the SW corner of Dark Hyrule, but as you can see on the map there is no entrance to the swamp of misery. The only way to get in there is by returning to the light world and summoning your bird with the flute. Link must drop of in the desert to find a secret teleporter under the dark green rock.
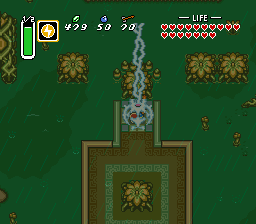
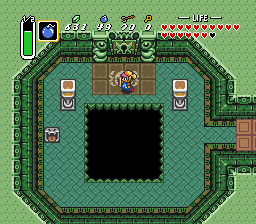
Now, that you're in the swamp walk around a bit to find the Ether symbol on the floor. Equip the Ether Medallion you found west of the Tower of Hera and use it make the rain stop and the entrance to the dungeon submerges.
| ||||
Map
1F
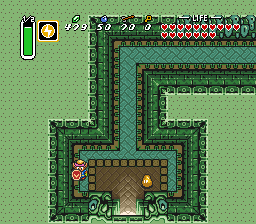
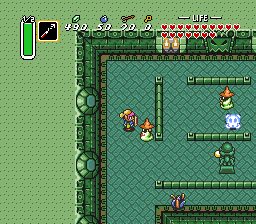
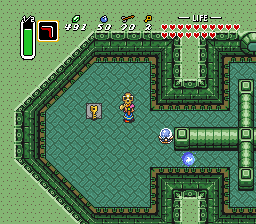
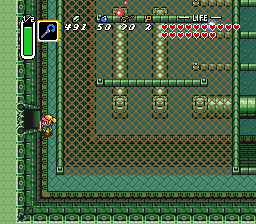
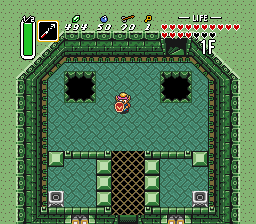
Inside kill the four yellow Zols and use the Hookshot to cross the gap to the other side. Go down the stairs to meet a new enemy who is an old adversary of Link.B1F
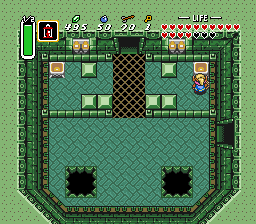
It's the Wizzrobe and there's four of them! Destroy all the enemies in this room to unlock the door.Walk up to find yourself in a large room with two levels. The doors to the right are dead ends at the current moment so you won't be needing them right now. The only useful (and reachable) door is in the NE corner.
Kill the Popos in the next room, push the block in the center sideways, walk up the next room and collect the small key from the chest. Then return back to the same room and go via the right passage to the east.
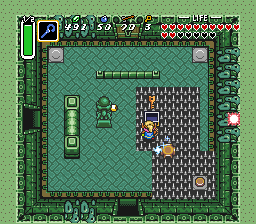
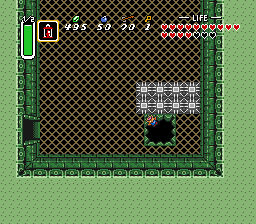
Take out the three Stalfoses in here and collect the key from the pot in the upper left corner. That's not all, equip the Cane of Byrna or the Magic Cape and lift the skull in the spike field to find a secret button. Then open the chest to find a second key in this room!
After collecting the third key in total head north from here, until you can't go any further. Go left and you'll end up in large room with some Wizzrobes and a peg switch at the very left. Hit it and also collect another key from under the skull.
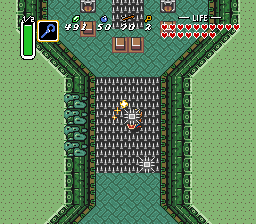
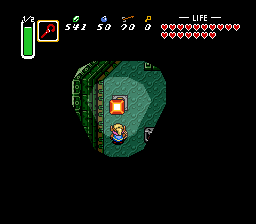
Walk down to the bottom of this room, ignore the red Stalfoses, don't lift the center jars as one of them contains a Spark which can bunnify you again. Instead proceed in southern direction. Here you must use invincibility/invisibility again to reach the end of the room without any damage.
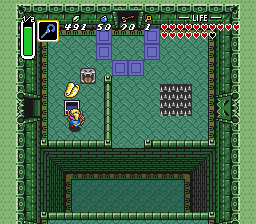
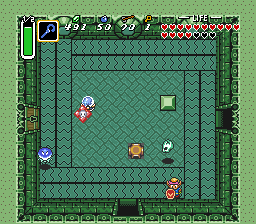
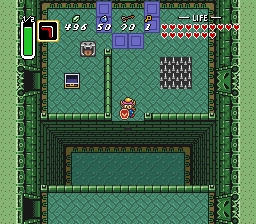
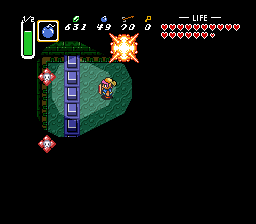
The left passage isn't of any use to you right now, so go down once again. The following room has a single red Stalfos and two shooting statues, but the left door is blocked so follow the right path to return to the central room. Here you can get another small key by pressing the button under the skull which is located between the now lowered blue pegs.
Unlock the door in the upper part of the eastern wall to get to the map.
Compass
Return to the central room and work your way around back to the upper ledge on the left side. Then use another small key on the door here to reach left wing of this dungeon.
Collect the key from beating all the enemies in here and leave the peg switch to blue as you need the blue pegs down at the moment. The floating skulls are annoying, but fortunately the Anti-Faerie can be turned into a real Faerie using the Magic Pouch.
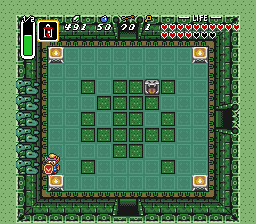
The path to the south leads to a dead end so don't take it. There's a recovery heart under the pots, but there are also some enemies and Beamoses here which aren't worth the minor prize. Instead follow the left passage to enter the well known flying floortiles chamber. You have to light all four torches before the first one extinguishes in order to unlock the door to the north.
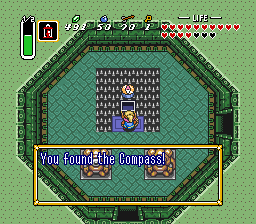
Enter this room to find the Compass of this dungeon. Examine your map to notice that the room to your right is the place with the bombslugs so DON'T go in that direction. Instead go back down again.
Big Key
You need to go the far south. It leads to a room with two Bomb slugs, a red Bari, a Wizzrobe and some stairs to 1F. Take out all the enemies if necessary and climb the staircase to reach 1F. Make sure to take the large Magic decanter from the skull as you're going to be needing some magic power.
1F
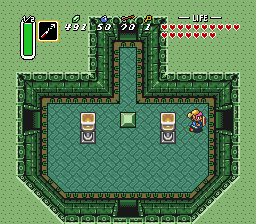
There's an infinite supply of regenerating Wizzrobes in this room so don't bother killing them. It takes more effort to do so, than to avoid their beams. Also take care not to walk down the gap which is right in front of Link.Read the Sahasrahla tile at the eastern end to find out that Link must light all the torches in order to continue... Push all of the blocks out of your way, use the Lantern on both the torches in the northern and southern half of the room. When all four are lit simultaneously an earthquake occurs.
Walk back to the Sahasrahla tile room to the right and notice that the corridor has widened. Now you can fall down the gap to the east. Do so now.
B1F
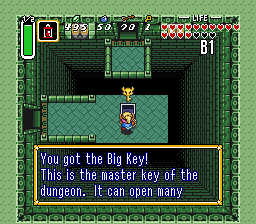
Here you'll stand right in front of the chest with the Big Key. Now the next task is to reach the chest with the Dungeon item. According to the map it is located in the east end of the dungeon so go there.Big Treasure
Take the teleporter tile, and do it once again in the next room (walk up the door with the big keyhole) to reach an area which leads to the boss, but we're not going into that direction just yet. Instead go right and return to the place where you got the map.
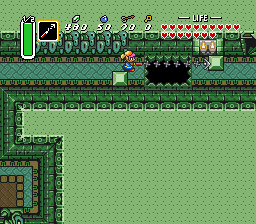
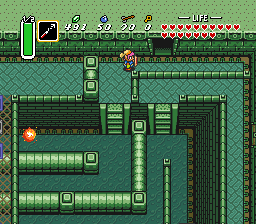
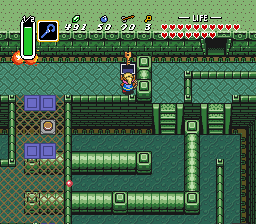
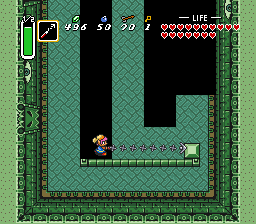
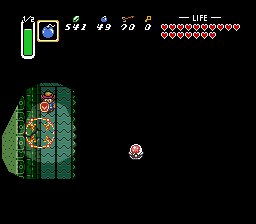
Walk to the bottom of this room and go right to find a long corridor with some eyes on the wall. These eyes fire lasers to take care not to get hit, when you're in their line of fire. The tiles in this floor dissolve after a few seconds so quick take out the Hookshot and grapple against the block to right.
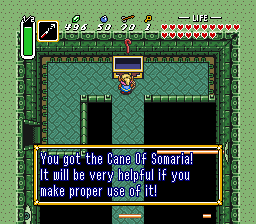
Walk (or dash) up to the big chest and open it to find out about its contents... It's the Cane of Somaria. With it you can create red blocks which can be pushed around the room. It is useful if you need to activate a switch at a certain location.
Return to the doorway I mentioned earlier (where you ended up after warping back from the Big Key chest). Follow the path up and descend the stairs to B2F.
B2F
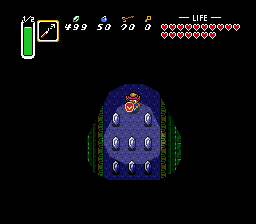
It's dark in here so watch out where you're going. This is a room with four projectile shooters and a single Zol in the lower right corner. The locked door contains a bonus room with 9 Blue Rupees collect them if that makes you happy.Back in the big room again, lift the leftmost pot to find a button. Next take out your new red cane and use it on the switch to create a block. If you missed it, just push/pull it around a bit.
There are two Stalfoses and an Anti-Faerie in this room (the block in the center contains nothing). There's not much to do around here so go left. To find yourself in a tight mini-maze. Just walk around towards the left and don't get hit by the spike. Up at the top there's a peg switch activate it (must be on red) and bomb the left wall to find a secret room with several blue Rupees inside.
In the room with the peg switch take the lower passage to the right and walk past the lowered red pegs. Then bomb the northern wall to find another peg switch behind it. Hit it so it turns blue and now you can continue on to the left.
The last room on B2F contains an infinite supply of yellow Sols falling from the ceiling so don't waste time on beating those. Instead hit the switch at the top (must become red) and ascend the stairs to the last two rooms before the boss.
B1F
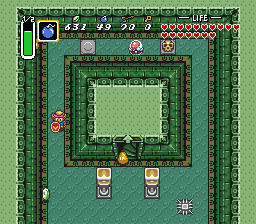
Quickly go counter clockwise around the center to avoid the Anti-Faerie and the trailing flame. At the left use the Big Key to open the room to the boss.Boss: Vitreous
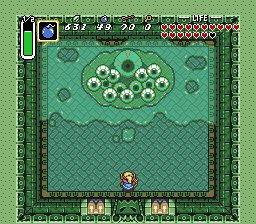
This is Vitreous another large one eyed creature. In fact this guy is all ball. Anyway, you must defeat all 9 of the little eyes (the four dark ones don't count) before starting on the big one. Attract them with the Hookshot, or just wait for them to attack one-on-one or two-on-one. 5 hits with the Tempered sword should be enough. If you must use the Cane of Byrna and walk into the ooze. Start hitting the balls and an easy victory is imminent.
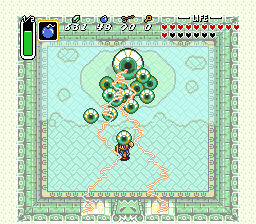
After they're all gone the large ball attacks by himself. Much like the other bosses it tries to bounce into Link. Hit it 9 times with the sword to finish. Vitreous doesn't have any killer attacks, but it does posses the same lightning technique used by Agahnim.
As usual, when it goes down your receive a Heart Container and the crystal drops down. Take it and hear the story of this maiden to learn that Zelda is imprisoned in Turtle Rock which is you final destination concerning the crystal collecting.
There is some optional stuff like collecting the Silver Arrows and the Golden Sword going on, but that's all.


 Subscribe to RSS