Table of Contents
Main Page (ALttP)
- Prologue: Zelda's S.O.S.
- 1. Searching for the Elder
- 2. Pendant of Courage - Eastern Palace
- 3. From Boots to Books to Prayers
- 4. Pendant of Power - Desert Palace
- 5. Scale Death mountain
- 6. Pendant of Wisdom - Tower of Hera
- 7. The Master Sword and the battle against Agahnim
- 8. Crystal #1 - Palace of Darkness
- 9. The Bird, the flute, it's owner and his old man
- 10. Crystal #2 - Watergate Dungeon
- 11. Crystal #3 - Skull Woods
- 12. Crystal #4 - Thieves' Town
- 13. The Tempered Sword and other items
- 14. Crystal #5 - Ice Palace
- 15. Crystal #6 - Misery Mire
- 16. The Final Sword upgrade and loose ends
- 17. Crystal #7 - Turtle Rock
- 18. Tower of Ganon
- Final. The Last Battle
- Appendix A: Check List & Compendium
Sections
| ||||
Quest for the Small Keys
1F
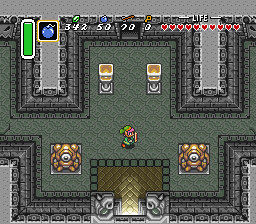
This dungeon has 6 Small keys and you're going to need all of them. So from the start take the right branch and hit the switch along the way as the center one is a dead end for now. Walk up and you'll meet a green 'beetle'. This is actually a Helmasaur (sometimes referred to as "Hiploop" too). These guys have an impenetrable hard exoskeleton over their heads. The only way to get rid of them is by attacking their weaker side/back or by throwing pots at them.B1F
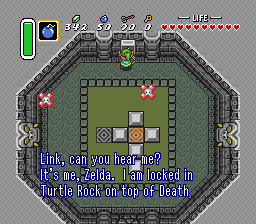
If you're Energy meter is filled completely leave the pots as they contain hearts only once. Go down the stairs, watch out for the Anti-Faerie(s), step on the teleporter and read the telepathic tile in the room where you end up.It's a message from our princess. She tells you that she's trapped in the dungeon on top of Death Mountain, and asks you to hurry... Bomb the southern wall here to find a secret passage. Kill the blue Bari, but only hit them with the sword when they are not flashing or else you get shocked. At the end of the corridor bomb the big crack in the wall on the right to find the room hidden behind it.
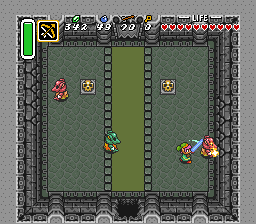
In here there are some mimics which copy you moves, hence the name "Copy" (but again the name "Goriya" is attached to it as well). The red one shoots a fireball if it sees you and your current Shield can't block it. The green ones are easy to dispose of by hitting them in the back when they're stuck against the wall.
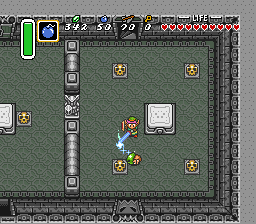
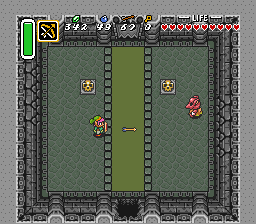
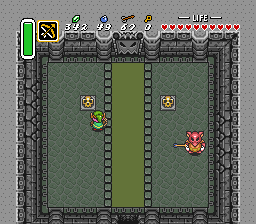
For the red one the easiest kill can be attained using the bow. Stand close on one line with it and shoot an arrow, then walk into the direction needed to force the Copy to walk into the arrow as it slings through the air like it:
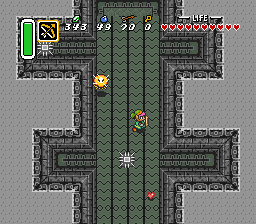
After getting rid of them. Walk over the section with the conveyor belt and try not to hit the Baries, when they're glowing or else it will only do damage against yourself. The spikes which are moving to the left and right here are the "Traps". Furthermore the red Bari splits up in two smaller Biri when it is defeated.
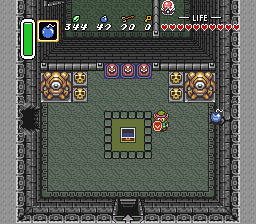
In the next room there are three red Baries and thus 6 little red Biries. When they're gone open the chest for the map of this dungeon, which is somewhat larger than the previous ones, but it only covers two floors. The silly 'mole heads' which appear here cannot be stomped by the items in your current inventory, but that will soon change (we will return to this room). Bomb both left and right walls to find a Small Key on the left in a chest and a Faerie Pond to the right.
|
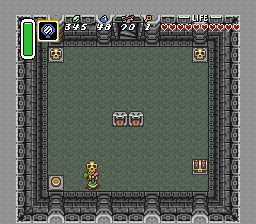
Return to the main entrance by walking back or using the Magic Mirror. Now take the left path down and watch out for another new dangerous dungeon object. There are two strange mouth shaped statues in the center. They shoot targeted projectiles at a constant rate, hence you can outsmart them if you don't stop. Pick the skull up in the lower left corner to reveal a switch, which in turn reveals a chest, which in turn holds a small key.
1F
After getting them warp back to the entrance again and take the center route, use the first key and in the next room take either the left or right branch (I took left first). There are some invincible turtle walking around here so don't waste your time on beating them. Bomb the weakened section in the center of the bridge and fall down afterwards.B1F
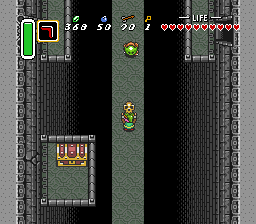
Don't go down to the bottom yet, but first use your second key to open the door at the top. Go upstairs and collect the Big Key from the chest, then return back to B1F by either walking there or just jumping of the ledge. Four yellow Stalfoses immediately fall down down as well, quickly take them out to receive some Rupees or else their heads will haunt you down.Try to avoid the slow moving turtles and pick up the single skull in the center to find a chest with the 3rd small key inside. Then take the teleporter in the NE corner (there are two recovery hearts under the left/right skulls here) and walk back to the start for the third time. Again the Magic Mirror is faster.
1F
Go up through the unlocked door again, follow the right branch, push lower block into the gap, walk up, collect key number #4, and press 'up' at the upwards pointing arrow to land on the other side of the gap.Follow the path up, kill the Hardhat Beetle, DON'T fall down the ledge, but instead go up the left door using one of your keys.
The next room has a trapped floor. If you wait too long the floor tiles start falling down leaving you no bridge to cross. Take out the Helmasaur using the pot and use the other for its brother. Once you're on the other side enter the left door with your last remaining key.
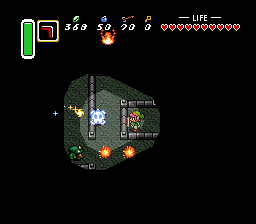
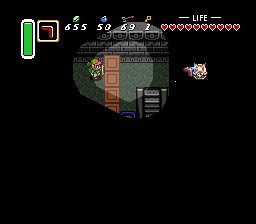
Here you enter another dark room, and there are no torches to brighten up the situation. Take out the 4 green Kodondos by watching where the fire balls originate from. In the upper left corner there is a chest with bombs (if you need them). Navigate to the bottom right section to find a cracked wall. Just look on the big map I made above to see where you're supposed to bomb the wall. And don't forget to collect the single last small key of this dungeon.
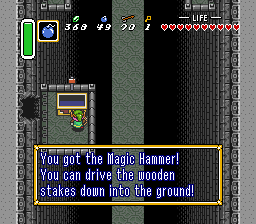
Walk through the gap to find the Big Chest. Since you collected the Big Key from before you can now open this chest. Inside there is a Magic Hammer. Use this hammer to destroy Helmasaurs from the front or to flip those turtle creatures over, causing them to expose their softer belly. Finally, the Hammer can be used to flatten those wooden pegs or the squashing the mole heads we saw earlier on.
Finding the boss' lair with the Hammer
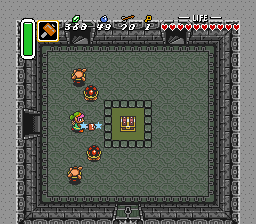
With the Hammer in your possession retrace your steps to the room with the disintegrating bridge. You can't go back that way, so go right and collect the Compass from the chest. Also you can subdue your Hammer to its first field test. It works pretty well!
B1F
Walk down either stair case as you end up in the same room. There are 2 Anti-Faeries around here and 36 Blue Rupees. Collect them all to fill the wallet quite a lot. The two chests around here contain a single Arrow and Small Key #6. That's the last one of them. Now it's on to the boss' lair. Yes, you can see the entrance to his door here, but Link can't reach it like that. He needs to teleport to there somehow.1F
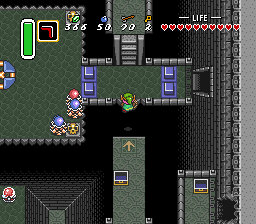
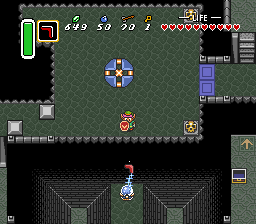
Back up again and take the southern passage. Lift the skull to the left and claim another Blue Rupee from the chest. Next push the statue to the right for a safe and quick exit to the next room. Once you reach that room you notice that we're back at the starting point again. If possible try to take out as many Hardhat Beetles before entering the center area using the Beam Attack. Otherwise the Ether Medallion may provide you some assistance here.Anyway, after reaching the central platform look at the bottom of the screen and notice the Crystal switch. Hit it with the Boomerang or any other projectile to lower the blue pegs. Use this in your advantage to reach the room to the right of you.
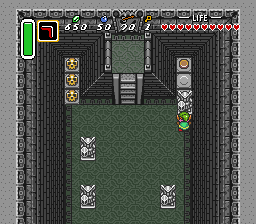
As expected this leads back to the room we entered much earlier, but now Link is on the bottom ledge. Pick up the the 3 skulls on the right to locate a switch which opens the door... But as soon as Link leaves the switch the door locks up again. You'd better move the upper right statue towards the button switch to open it up permanently!
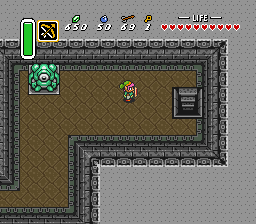
In the back room there are three more Goriyas. Again use the sword on the green ones and the bow on the red one to clear this room. Watch out for the trap in the next room as you change the switch from red to blue. Move on to the right to find a green statue (I haven't seen one of those before...). Furthermore the room seems to be a dead end, yet the tiles on the floor show that the border runs further on to the right. Very suspicious... So take out your bow and hit the green statue's eye to open the wall up and descend the stairs.
B1F
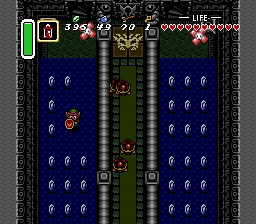
Equip the Magic Hammer to stomp the mole heads and the turtles. For the next obstacle make sure the switch is red and stand to the left of the orange pegs, then shoot an arrow, throw the boomerang or use the Beam Attack to hit the switch from a distance. Use your last key to open up the way to the boss!Go through the tight corridor and use the Magic Hammer again to kill the turtle. Head south and now take out all 6 Turtles using the Hammer. You may want to use the Lantern to improve the view.
In the next chamber there are no enemies, but there are 6 blocks and only one of them can move. For the easy solution just pick the rightmost block on the upper half and push it either down or left to reach the teleporter. Use the warp and take out the four turtles in the central area. Walk up to the boss door and prepare for a battle!
Boss: Helmasaur King
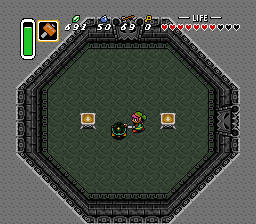
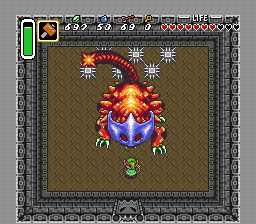
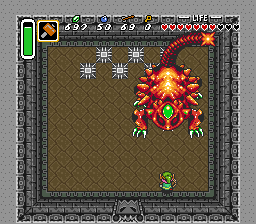
This boss is just an oversized Helmasaur with the addition of a scorpion-like tail. Take your Hammer out and pummel his mask as much as you can. After fist hit the first segment falls off, but it requires a total of 20 hits to remove it completely.
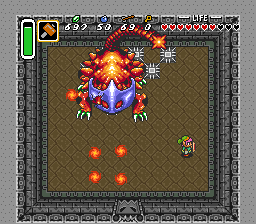
Helmasaur King attacks you by breathing 3 fire balls which divide into four smaller balls each. It's pretty hard to dodge them all, but it is doable. The best position is one or two spaces below the location where the fireball splits up as that position can be reached by the diagonal movement of the smaller balls.
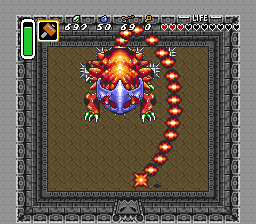
Next to that he sometimes tries to to sting you by stretching out his long tail. He tries to home in on you so keep moving, but he can never hit you if you are straight in front of his head.
Once you removed his mask he starts to move somewhat faster and he uses his attacks more frequently and even at the same time. You can start to deal some serious damage as well. Equip the Bow and hit the jewel on his forehead. The sword works too, but the projectiles can hit him from a distance. On the other hand it only requires 7 strikes of the sword opposed to 10 arrows to make him kick the bucket.
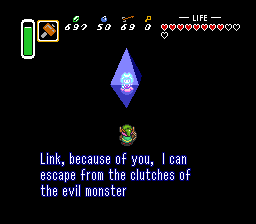
Once he's gone the King leaves you a present in the shape of a Heart Container. Pick it up and a small Crystal drops down. Links holds it above his head and the crystal shows a young maiden inside.
The maiden explains some parts of the background story which includes the revelation that Ganon is behind all of this all along! Furthermore she locates the other six maidens on the map for you. The second maiden is trapped inside the dark version of the Watergate. When Link manages to free all seven maiden they can break the barrier to Ganon's Tower so Link can take on his final adversary.

 Subscribe to RSS